Finding the best remodeling contractor for your next project shouldn’t feel like getting a root canal. See how Greystone Remodeling makes it easy to remodel your kitchen, bathroom, or your entire home!
Are you fed up with getting the round around from contractors that communicate poorly or don’t communicate at all? Finding a great remodeling contractor around Raleigh shouldn’t have to be so difficult. Remodeling your home the easy way should be the only way!
1. Schedule your free phone consultation.
One of the most important things about remodeling is finding the right company to transform your space. Many of our clients tell us they usually call several contractors while on the search. Unfortunately, they also tell us that when they actually get someone to answer the phone, they are still left with a lot of unanswered questions. That is why Greystone Remodeling has a simple process to get you what you need when you need it.
We take an approach that is different from many other companies in this regard. During a free 45-minute phone consultation, you have our undivided attention. While on this call, we’ll ask you a few questions to better understand how we can help guide you through your unique situation. We’ll cover things such as project scope, timeline, and expectations, and we’ll even provide you with a ballpark estimate on your investment.
Our goal at the end of the call is that you don’t have any unanswered questions and you hang up feeling understood and valued as a future member of the Greystone Remodeling family.
2. Getting a closer look.
After your free phone consultation and all your questions are answered, you may be wondering what we should do next. That’s a great question! From here, the next step to getting you the clarity and understanding you deserve is to invite us to your home to do some consulting work. Usually, these visits take up to an hour, but we can always make more time if needed.
While we are there meeting with you and your loved ones who will be involved in the project, we start getting down to the details. We increase the power of the microscope and start getting specific about things such as material selections, layouts, timing, potential challenges, and their solutions, all to compile a detailed and complete scope of work. Don’t worry; we take care of all the hard work. All you have to do is help us see your dream as you see it. We take care of the rest!
Now that we have a complete scope of work, within a few days, we will deliver to you an accurate proposal, so you’ll know exactly how much of an investment it will require to realize your dream space. Your proposal also includes other important information such as material takeoffs and allowances and payment schedules. With this information now in your hand, all we have to do to get your project on the schedule is swap a few signatures and collect a deposit so we can get started on the next step to completing your project; the design phase!
3. Design the perfect space.
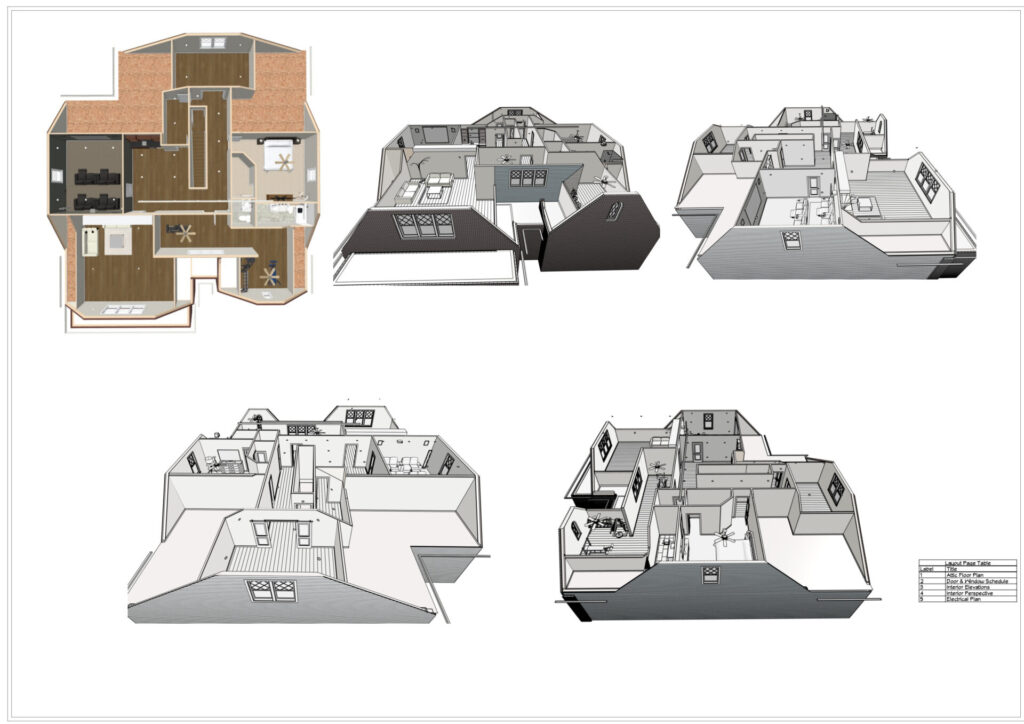
The design process is easily one of the most important and undervalued parts of the pre-construction process. It’s here that we will start designing your perfect space, leaving no detail unexamined. From the type of tile and grout color and countertop options, all the way down to the finishes on your plumbing fixtures, everything is selected by you. With our help, of course.
How does the design process work? Well, the first step is to gather your inspiration. You might have something like Pinterest boards or any other pictures that you found online or maybe even pictures of some friends or family’s rooms that you just absolutely love. We will ask you to gather those and share them with us so we better understand your sense of style and the overall look you’re trying to achieve. If for some reason, you don’t have any inspirational photos, that’s OK too!
Using your inspiration photos, we’ll select a few options that coincide with your inspiration. From here, we present you these options, and you can either say, “These look great!” or maybe, “You know, I’m not really liking this. Let’s try a different direction.” Either way, it’s fine with us. We’re here to make sure that you pick out the perfect material for your project. Because, let’s face it, at the end of the project, the last thing you want is a garage full of tile that you didn’t like in the first place that you can’t return.
Once we pick this stuff out, we immediately order your selections so they are on-site by the time we need them during construction.
Some of our clients know exactly what they want before ever reaching out to us. Others have some ideas but can’t get them down on paper. For those clients, having a guide walk you through the design process makes it so much easier.
So, how long does the design process take? The design process usually takes place over a series of three to four meetings or as many as we need to make sure that you’re picking out the perfect materials. These meetings typically range from an hour to two hours in length, and they can be spaced out from weekly to every two weeks. The most important part is that we go at a pace that’s comfortable for you.
The last thing we want to do is rush you into making a selection that you’re not going to love for years to come. So we encourage our clients to take their time and truly consider their options before making those final selections.
Let us do the heavy lifting for you. All you have to do is tell us what you like, and then we will take care of the rest. This ensures that you end up loving your project, and it’s the perfect space for you and your family to make fantastic memories.
4. Getting crystal clear before we start.
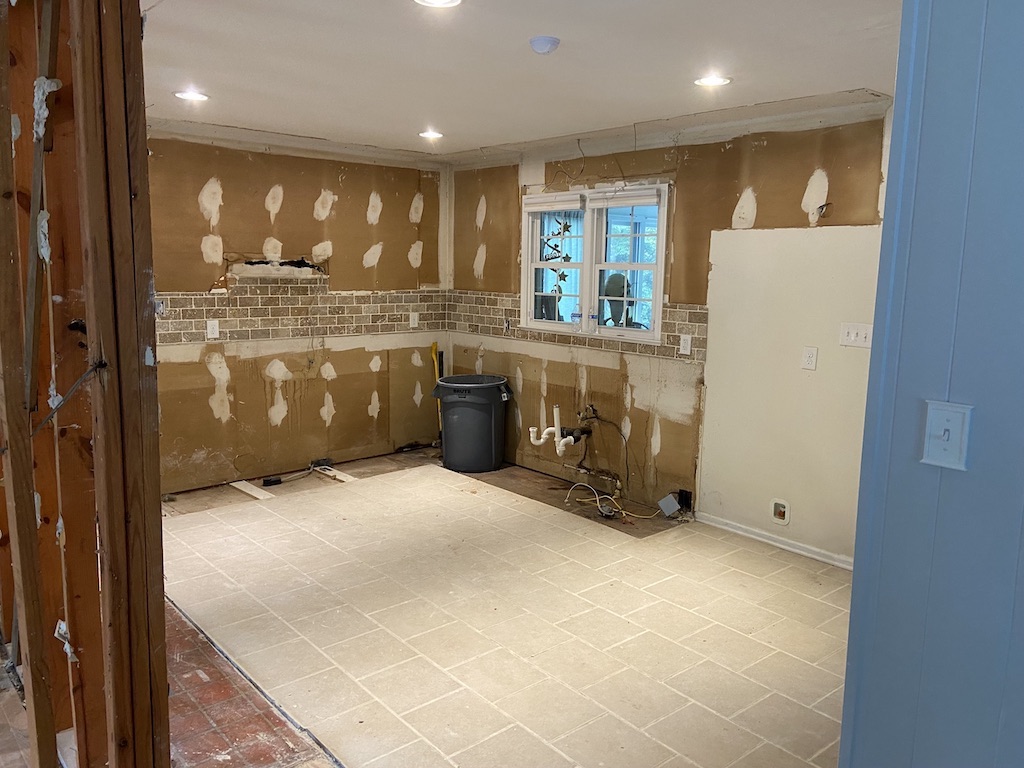
It’s finally arrived! The day you’ve all been waiting for has come! Demo day. Everyone loves demo day! It’s the first day of construction; the anticipation is high and the excitement even higher. You’re ready to get started and see some progress! Time to get rid of those 80’s cabinets or that green carpeting my grandmother had. But before the first hammer swings, we have to go through a very important step, and that’s our pre-construction walkthrough.
During the pre-construction walkthrough, we’re going to not only do a physical walkthrough of the project and go over every detail of the scope together, but we are also going to examine a document together that helps set some expectations of our team as well as the construction phase to make sure that your project runs without a hitch and you are comfortable along the way.
Some of the things that will be covered in this document are things like working hours, our cleanup policy, scheduling, team members, payment, your pets, parking, dust, communication, emergencies, changes to the scope of work, moonlighting, yard signs, dumpsters, portable toilets, meetings, photographs, post-construction. And last but not least, remodeling fever.
Once everybody has reviewed this document and we are on the same page, we will swap a few initials, and the preparation for the first day of construction can begin. So hold on to your hats. It’s about to get started!
5. Protecting your home.
All right, we’ve done the pre-construction walkthrough, and now it’s time to officially get started! Before we start tearing out your cabinets or ripping out that garden tub you have despised for ten years, we must protect your home. So we’re going to put things down like Ramboard, heavy-duty flooring protection that keeps your existing floors looking as beautiful as ever. We’re also gonna put up ZipWall, a dust barrier system that helps contain dust in the working area. ZipWalls even have special doorways in them so you can still access those rooms of your house. But wait! In the spirit of the late Billy Mays, “There’s more!”
We’re also going to install HEPA air scrubbers in the work area. These help out dramatically with the air quality in your home. Now 100%, dust containment is impossible in any remodeling project, but this really helps, and our clients love it. Now that we have those steps out of the way, it’s time to start swinging those hammers!
6. Time to get out the tools!
The first day of construction is great! You come home from work, and everything is gone! Demolition, or as we like to call it, “Demo,” happens fast! After demo is done, we get started on the rough-in phase. This is where folks like our electricians, plumbers, mechanical contractors, framers, and all of our amazing team members will work together to build your space back the way you have been dreaming about for so long. This rough work is what goes in the walls before we can make your home pretty again.
After this phase is complete, we have to have a rough-in inspection. An inspector from your jurisdiction, whether it’s a county inspector or a city inspector, will come out and make sure that all the work that has been done up until this phase of the project is up to code and it’s going to be safe for you and your family.
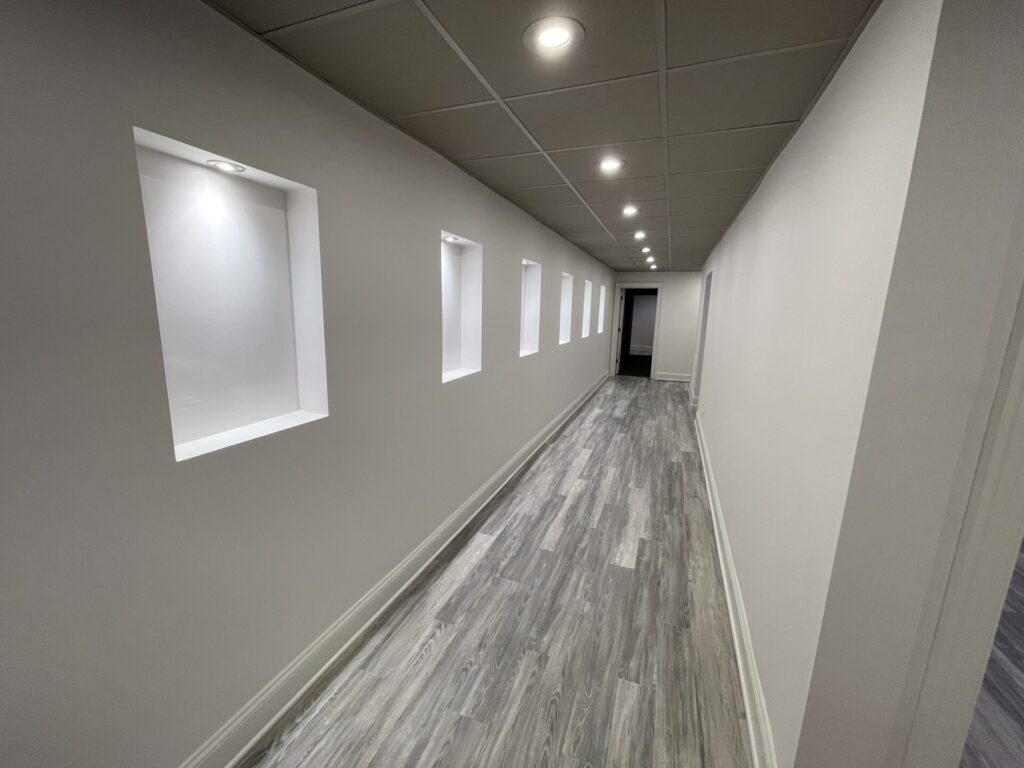
With the inspector’s stamp of approval, we get to proceed to the insulation and finishing phase where we’re going to start by insulating before putting up sheetrock. This is when all the pretty stuff starts to come together, and you get super excited.
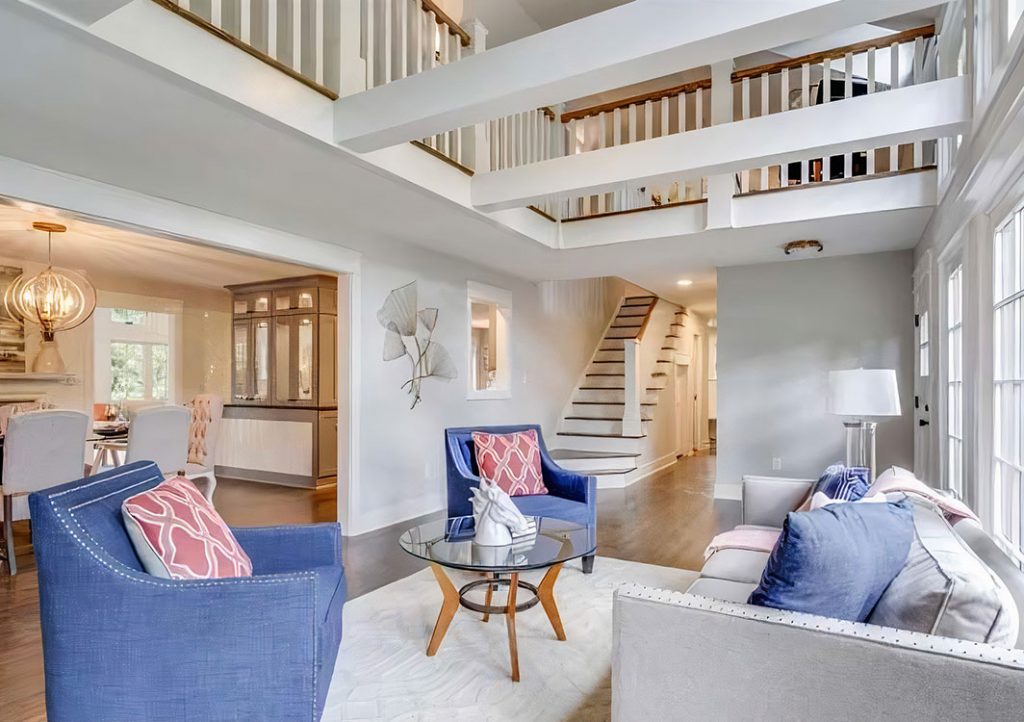
Then, the day comes when construction is complete. We take out all the Ramboard and the ZipWalls. We go through our touch-ups, and you get to create a punch list. Any little details that you see that aren’t perfect, we’re going to address them immediately, and we’re going to make sure that you absolutely love this space.
And then last but not least, we’re going to have a team of professional cleaners come in and clean the entire work area and the rooms adjacent to it. You made it! You have your house back, and it’s all done! Right? Not so fast! You can’t get rid of us that easily. The next phase is the warranty phase.
7. Your project is complete. Now what?
Just when you thought you couldn’t get rid of us any faster, you’re stuck with us for another five years. That’s right. Another five years! Included with your project is the Greystone Guarantee, our 5-year warranty. This warranty covers all defects in any workmanship or systems that we have installed. The material that we’ve installed carries its own warranty directly from the manufacturer, but if anything is damaged or anything happens because of the work that we complete or the installation that we perform, we’re going to do whatever we can to make it right. There are some limitations to your warranty, and these are included in your project paperwork.
Our warranty period really sets us apart from the rest. For the next five years, you’re going to hear from us every six months. For the first two years, every six months, we’re going to physically come back out to your house and put our eyes on your project. During these warranty visits, we’ll take a look, and if we see any minor defects while we’re there, oftentimes, we can take care of them right on the spot, whether it’s adjusting the cabinet hinge or anything like that will take care of it immediately.
If it’s something larger that we can’t handle while we are out there during our warranty visit, we will go ahead and get it on the schedule to get it taken care of as quickly as possible.
After the first two years, you’re still going to hear from us every six months, but instead of coming out and bugging you, we’re just going to give you a call and send you an e-mail to check in and see how things are going. Of course, if something does come up outside of these warranty check-ins, you can always call us directly or fill out a warranty request in your project portal, and we’ll get out there to you and get it taken care of as quickly as possible.
Ready to remodel your home the easy way in the Raleigh, NC area? Fill out our contact form to get the ball rolling and schedule your free phone consultation!